Sending Contacts Klaviyo
Adding Contacts to a List in Klaviyo
This page explains how to tag contacts in Klaviyo from Ramsys CRM Reports and build targeted audiences without the need for the manual extract.
Klaviyo Lists are areas you create to help organise your contacts before sending targeted marketing campaigns. They're a collection of CRM contacts grouped under an identifiable label
If you haven't already connected Ramsys to Klaviyo please click here to find out how.
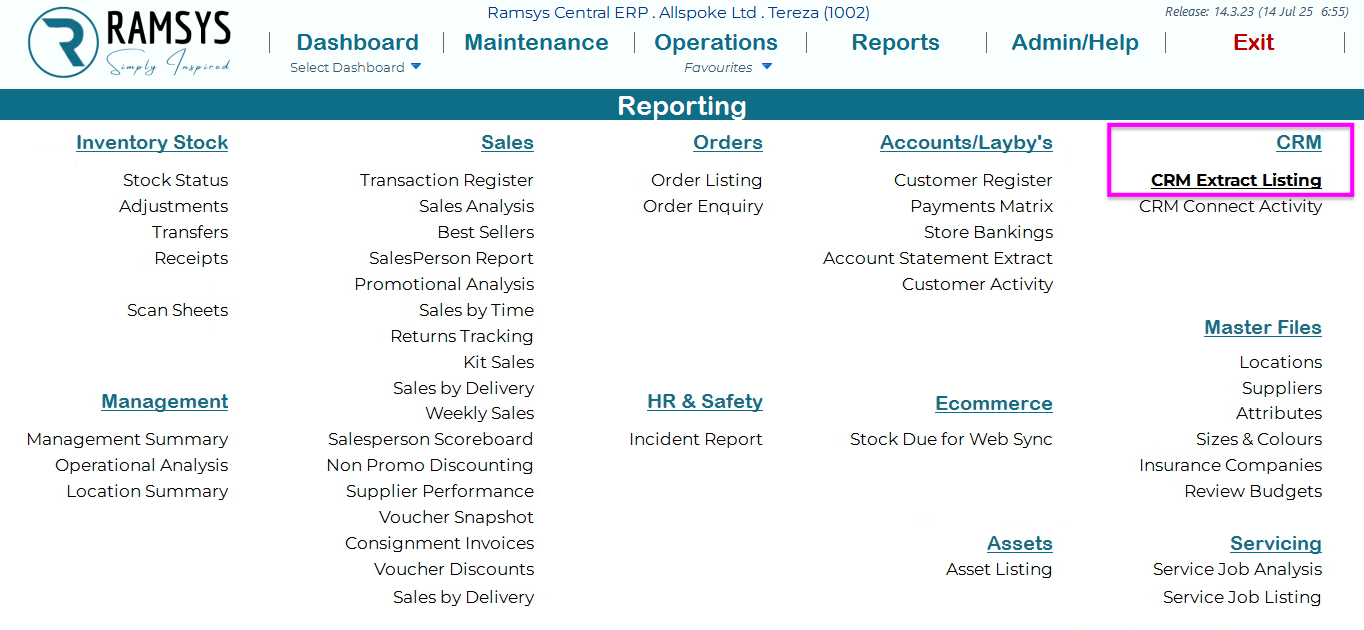
Step 1 Navigate to CRM Reports
Ramsys is your master source that holds your online and in-store sales and customers data, therefore you need to do your customer selection in Ramsys. Firstly, navigate to the CRM Report in Ramsys Central: Reports - CRM - CRM Extract Listing.
Step 2 Add Filters and Select attribute tags
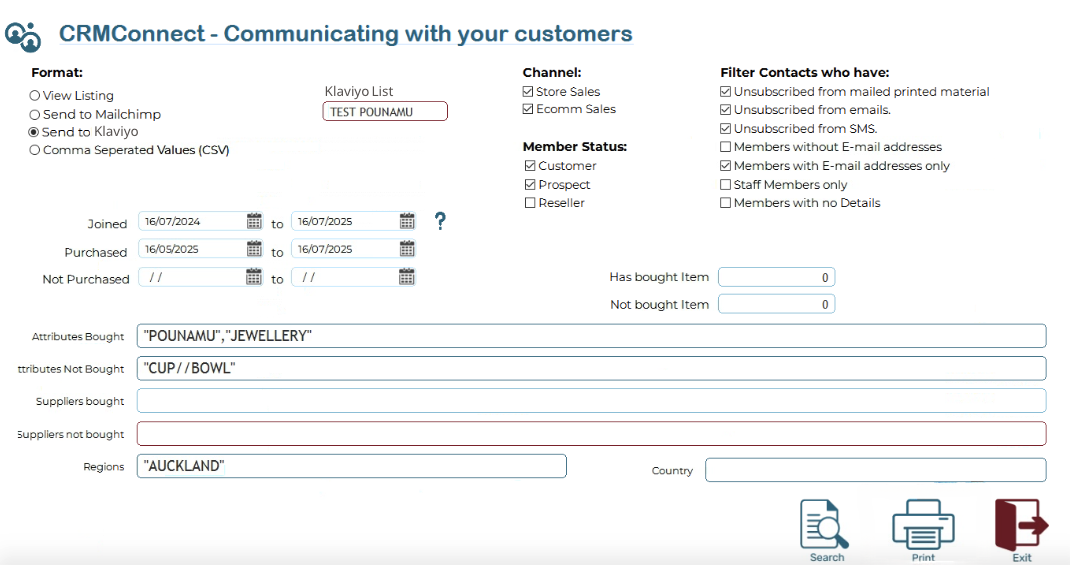
You can filter your CRM contacts based on various criteria and attribute tags. Adding these filters will remove any unwanted contacts.
For example, you want to send a campaign to everyone who joined your CRM in the last year, is from Auckland, has made a purchase in the last 3 months, and has bought pounamu jewellery but not a bowl. And you want to send these contacts to a Klaviyo List named “TEST POUNAMU”.
Make sure you have applied the relevant filters to get the correct list of contacts.
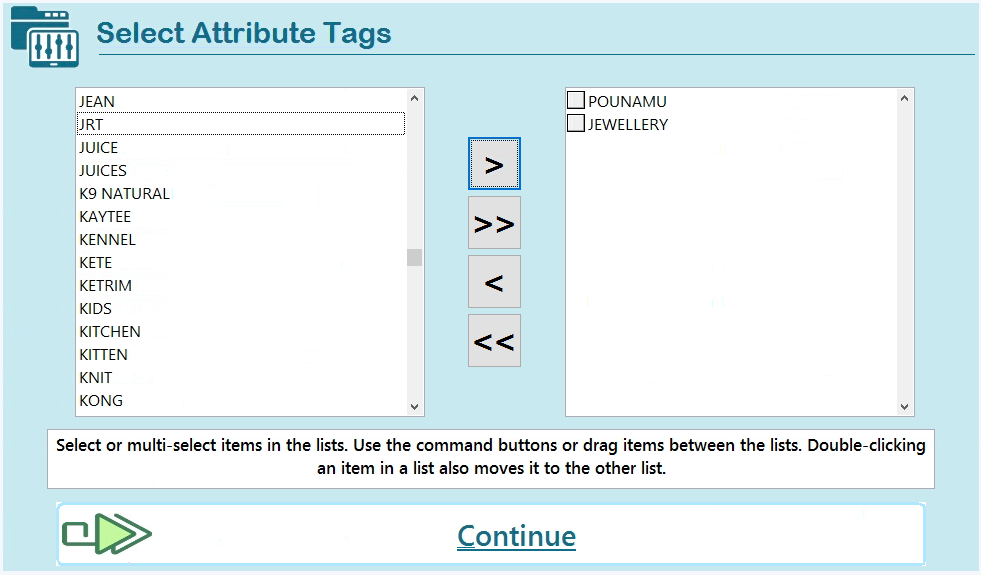
As well as attribute filters
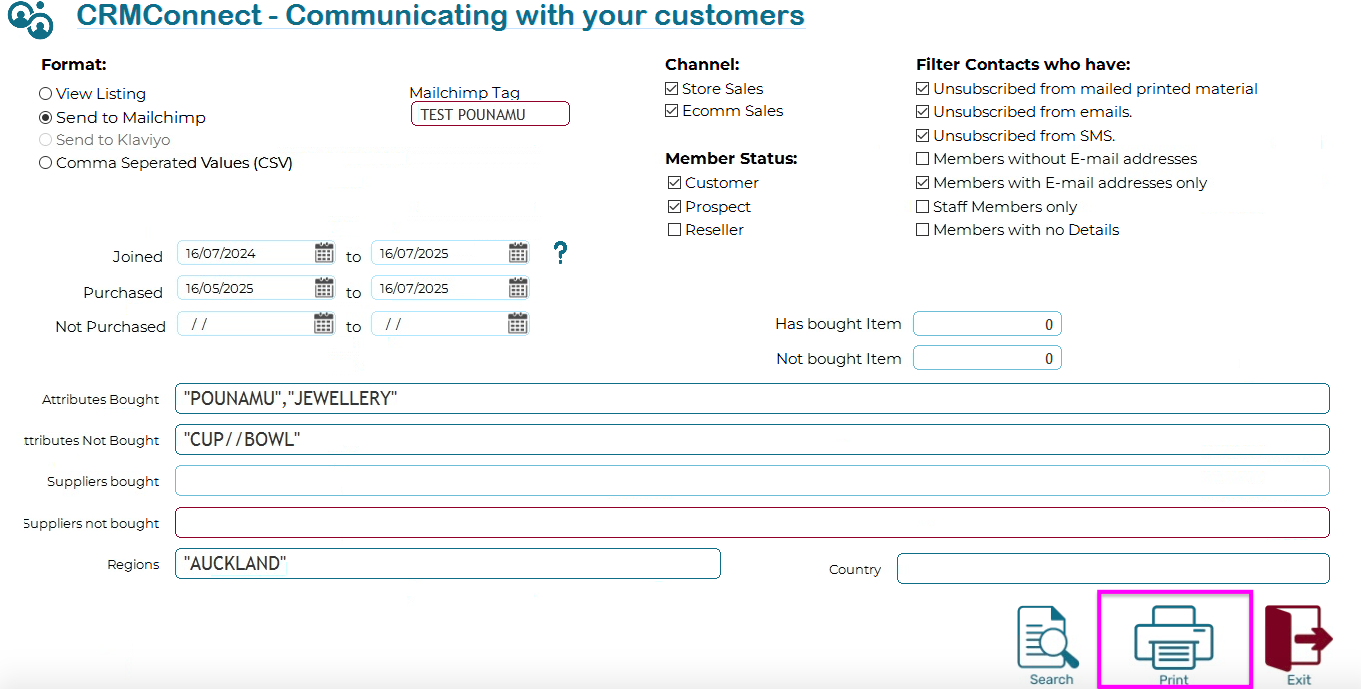
Step 3 Finalise and Send Contacts to Klaviyo List
Once you've set all filters and named the Klaviyo list, you are now ready to tag the contacts in Klaviyo. Simply click print button on the right bottom part of the screen and all these contacts will be sent to Klaviyo.
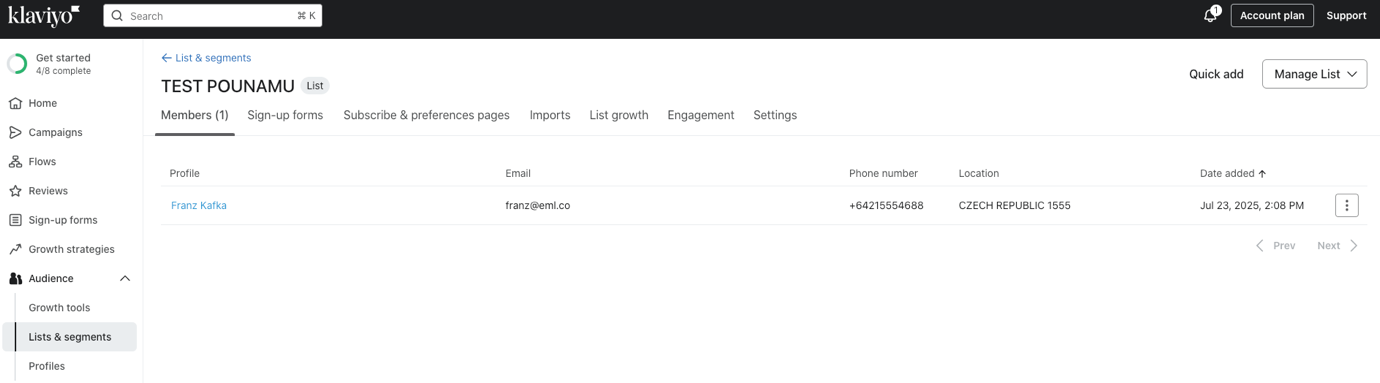
Step 4 Contacts Added
Open your email marketing tool, in this case Klaviyo, navigate to Audience and List & segments to be able to see all your contacts within the "TEST POUNAMU" list. This simple process saves you a lot of unnecessary manual work. You can now create and send a campaign to this specific audience.
If you need help setting up or interpreting your filters, please contact the Ramsys support team at support@allspoke.com.